Introducing My Custom Arduino MIDI Controller
Introduction
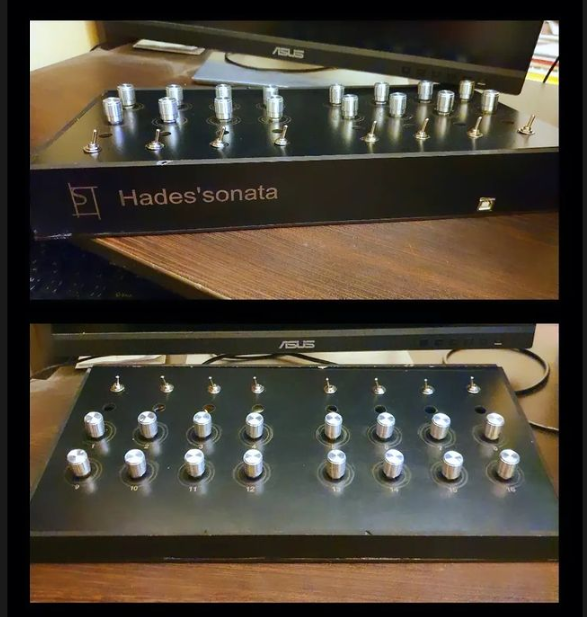
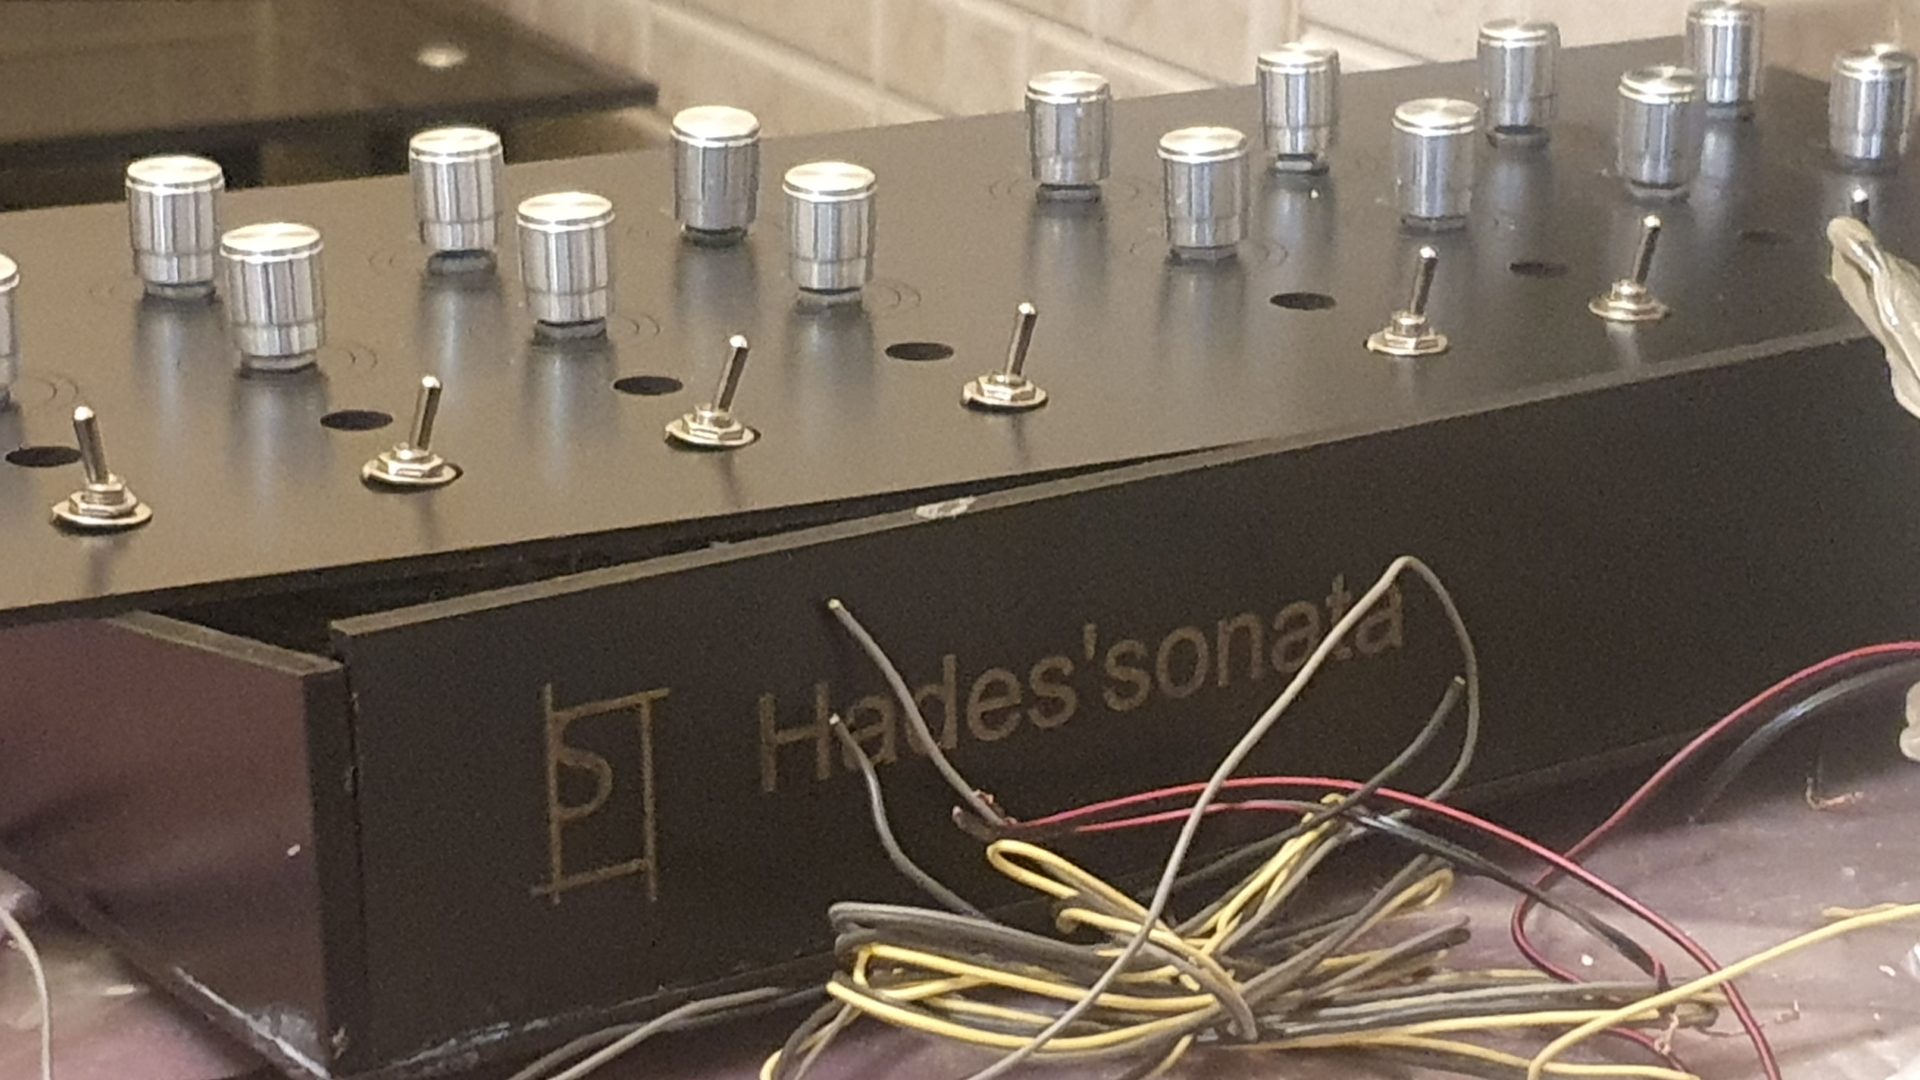
Creating a custom MIDI controller has been a long-time goal of mine, driven by my passion for music technology and DIY projects. I made it to work with TouchDesigner and VCV rack. It works with Arduino Mega, potentiometers, knobs and a costume body.

Project Overview
A MIDI controller is an essential tool for music production, allowing musicians to interact with digital audio workstations (DAWs) and other music software. I chose Arduino for this project due to its versatility, ease of use, and robust community support, making it an ideal platform for prototyping and development.

Design and Development Process
The concept for this MIDI controller was inspired by my desire to create a personalized tool tailored to my specific needs in music production. I selected components carefully to ensure functionality and compatibility, including 16 potentiometers and switches. The circuit design was meticulously planned to integrate these components seamlessly.

Building the MIDI Controller
Assembling the hardware was a detailed and rewarding process. I followed a step-by-step approach, starting with the basic circuit connections and gradually integrating the more complex components. Designing and constructing the enclosure was another exciting phase, where I used a laser-cut wooden body to give the controller a professional and aesthetic finish. Adding personal touches to the enclosure made the controller not only functional but also visually appealing.

Testing and Calibration
Initial testing involved verifying that all hardware components were functioning correctly and that the software was responding as expected. Calibration was essential to ensure the accuracy of MIDI signals, and I used Hairless MIDI and Loop midi to fine-tune the controller’s performance.
Final Product
The final MIDI controller boasts several key features, including the 16 potentiometers and switches, which enhance its capabilities in music production. My experience using the controller has been positive, with reliable performance and intuitive controls. Feedback from a few beta testers has also been encouraging, highlighting the practicality and innovation of the design.

Challenges and Learnings
Throughout the project, I encountered several technical challenges, such as coding the Arduino or the works for body, which required creative solutions. This journey has significantly enhanced my skills and knowledge in working Arduino boards and some electrical works, and I am eager to apply these learnings to future projects.
Conclusion
This project has been a fulfilling journey, from the initial concept to the final product. I am proud of the outcome and excited about potential future improvements, such as the switches to perform more functions. This project not only showcases my abilities but also encourages others to explore the world of DIY music technology.